Ricotta and chocolate cake with the Thermomix, no starch shortcuts
Ricotta and chocolate cake made with the Thermomix: cornstarch instead of potato starch, a soft and moist center, chocolate chips in every slice.
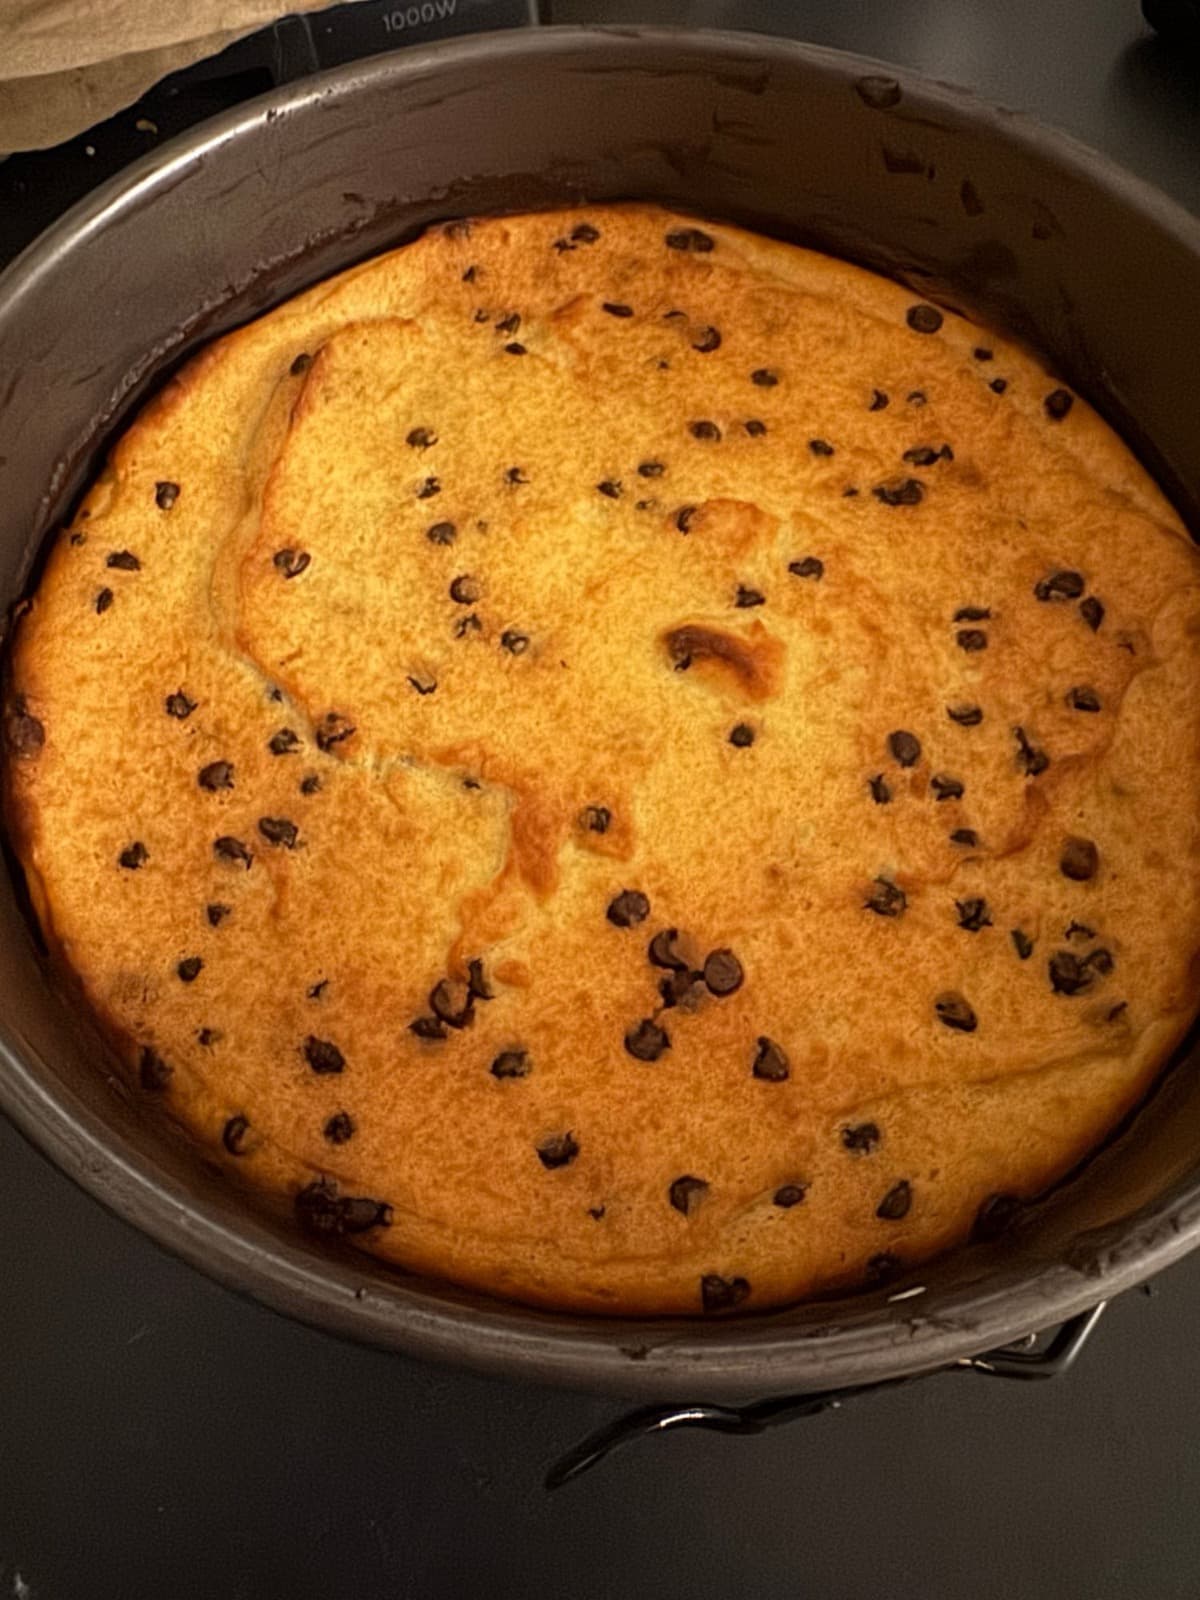
Riccardo's cake, inspired by a recipe from Italian home cook Benedetta Rossi and adapted to the Thermomix with cornstarch instead of potato starch. No baking powder: all the lightness comes from the long-whipped eggs, and the result is a moist, almost creamy cake with chocolate chips that stay intact in every slice.
Why it's whipped for so long, and why with a bit of heat
There's no baking powder in this recipe: the structure comes entirely from the eggs, whipped with the sugar for 16 minutes total. That's much longer than a regular cake needs, and that's exactly the point: the more air you whip in, the more the cake rises during baking with no other help.
The first 13 minutes at 37°C aren't random: a light warmth dissolves the sugar faster and helps the eggs whip up to a greater volume than whipping them cold would, the same logic behind a pâte à bombe. The last 3 minutes with no temperature stabilize the structure before you add the other ingredients.
Cornstarch or potato starch: what changes
The original recipe uses potato starch, replaced here with cornstarch, easier to find in most pantries. The result is nearly identical: both starches give structure without weighing the cake down, unlike flour, which contains gluten and would make the cake denser and less melt-in-your-mouth.
Why the ricotta needs to be well drained
If the ricotta holds onto excess whey, that water ends up in the batter and the cake struggles to bake through, staying gummy instead of soft. Let it drain in a sieve for a couple of hours before using it, especially if it's very fresh: it makes all the difference between a slice that cuts cleanly and one that falls apart.
How to tell when it's properly baked
The skewer test works a bit differently here than with a regular cake: it should come out dry, but the cake still stays soft and moist, almost creamy, when sliced, because of the high proportion of ricotta. If you wait for the surface to feel "dry" to the touch too, you risk drying it out too much.
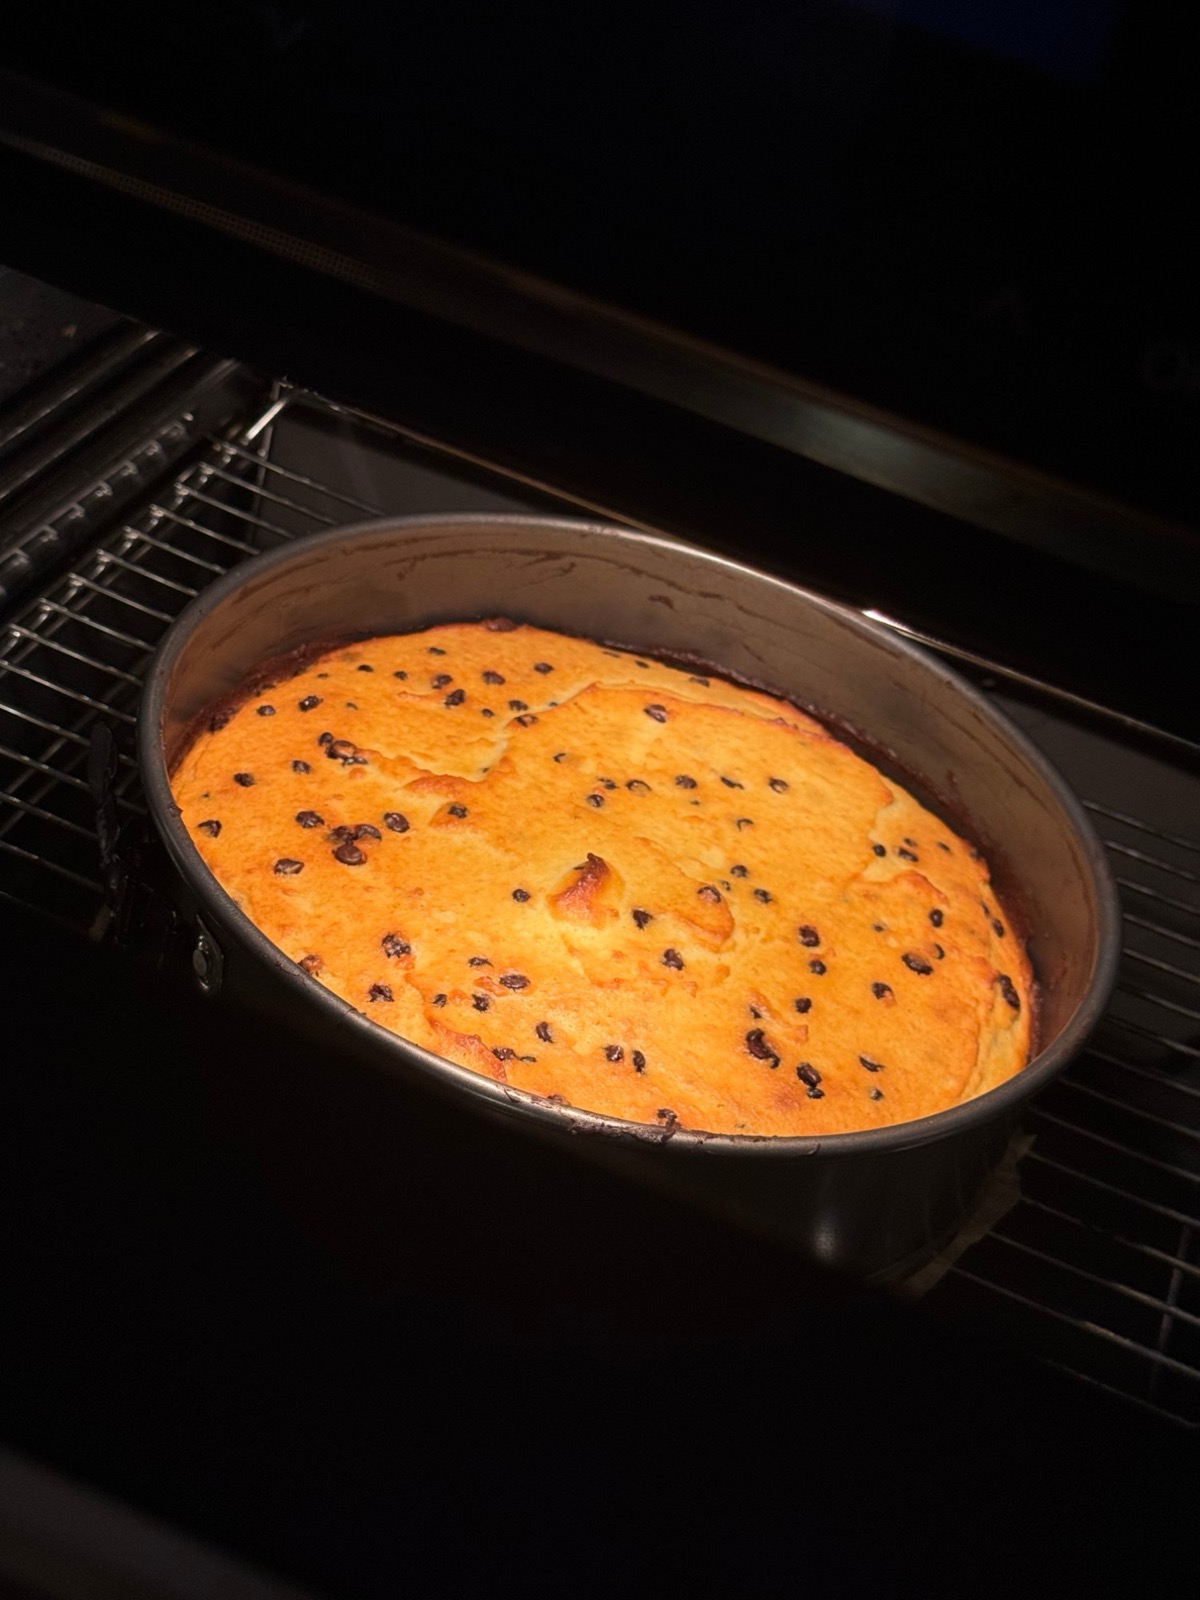
Why you should wait for it to cool before opening the pan
Warm, the structure hasn't set yet: opening the springform too soon risks breaking it or having it stick to the sides. Let it cool completely in the pan, then open it up without rushing.
Variations
- Without cornstarch: swap it for 60 g of plain flour. It comes out a touch less melt-in-your-mouth but just as good.
- Without starch or flour: the result is closer to a cheesecake, dense and creamy instead of light.
- With lemon or orange zest instead of cinnamon, for a fresher version.
Storage
Unlike the other cakes on the site, this one needs to be kept in the fridge, because of the fresh ricotta: it keeps well for 3-4 days, covered or in a closed container. Take it out about ten minutes before serving.
Ingredients
- 3 eggs, at room temperature
- 120 g sugar
- 1 teaspoon vanilla extract
- half a teaspoon ground cinnamon
- 60 g cornstarch
- 500 g ricotta, well drained
- 100 g chocolate chips (kept in the freezer until the last moment)
Method
- 1
Fit the butterfly whisk into the bowl. Add the eggs, sugar, vanilla extract and cinnamon and whip
⏱ 13 minvel 4🌡 37°C - 2
Keep whipping, this time with no temperature, until the mixture is pale and very fluffy
⏱ 3 minvel 4 - 3
With the butterfly whisk still in, add the cornstarch through the lid opening
⏱ 20 secvel 3 - 4
Add the well-drained ricotta, helping with the spatula if needed, until the mixture is creamy and smooth
⏱ 30 secvel 3 - 5
Remove the butterfly whisk and fold in the chocolate chips by hand with the spatula, from the bottom up
- 6
Preheat the oven (170°C fan or 180°C conventional). Line a 20 cm springform pan with baking paper, pour in the batter and level it
- 7
Bake. Test the center with a skewer: it should come out dry, but the cake stays soft and moist when sliced
⏱ 50 min - 8
Let it cool completely in the pan before opening it: it's fragile while warm. Dust with powdered sugar before serving
Tip
Keep the chocolate chips in the freezer until you're ready to fold them in: they hold up better against the heat of the batter and stay well distributed instead of all sinking to the bottom.
You might also like
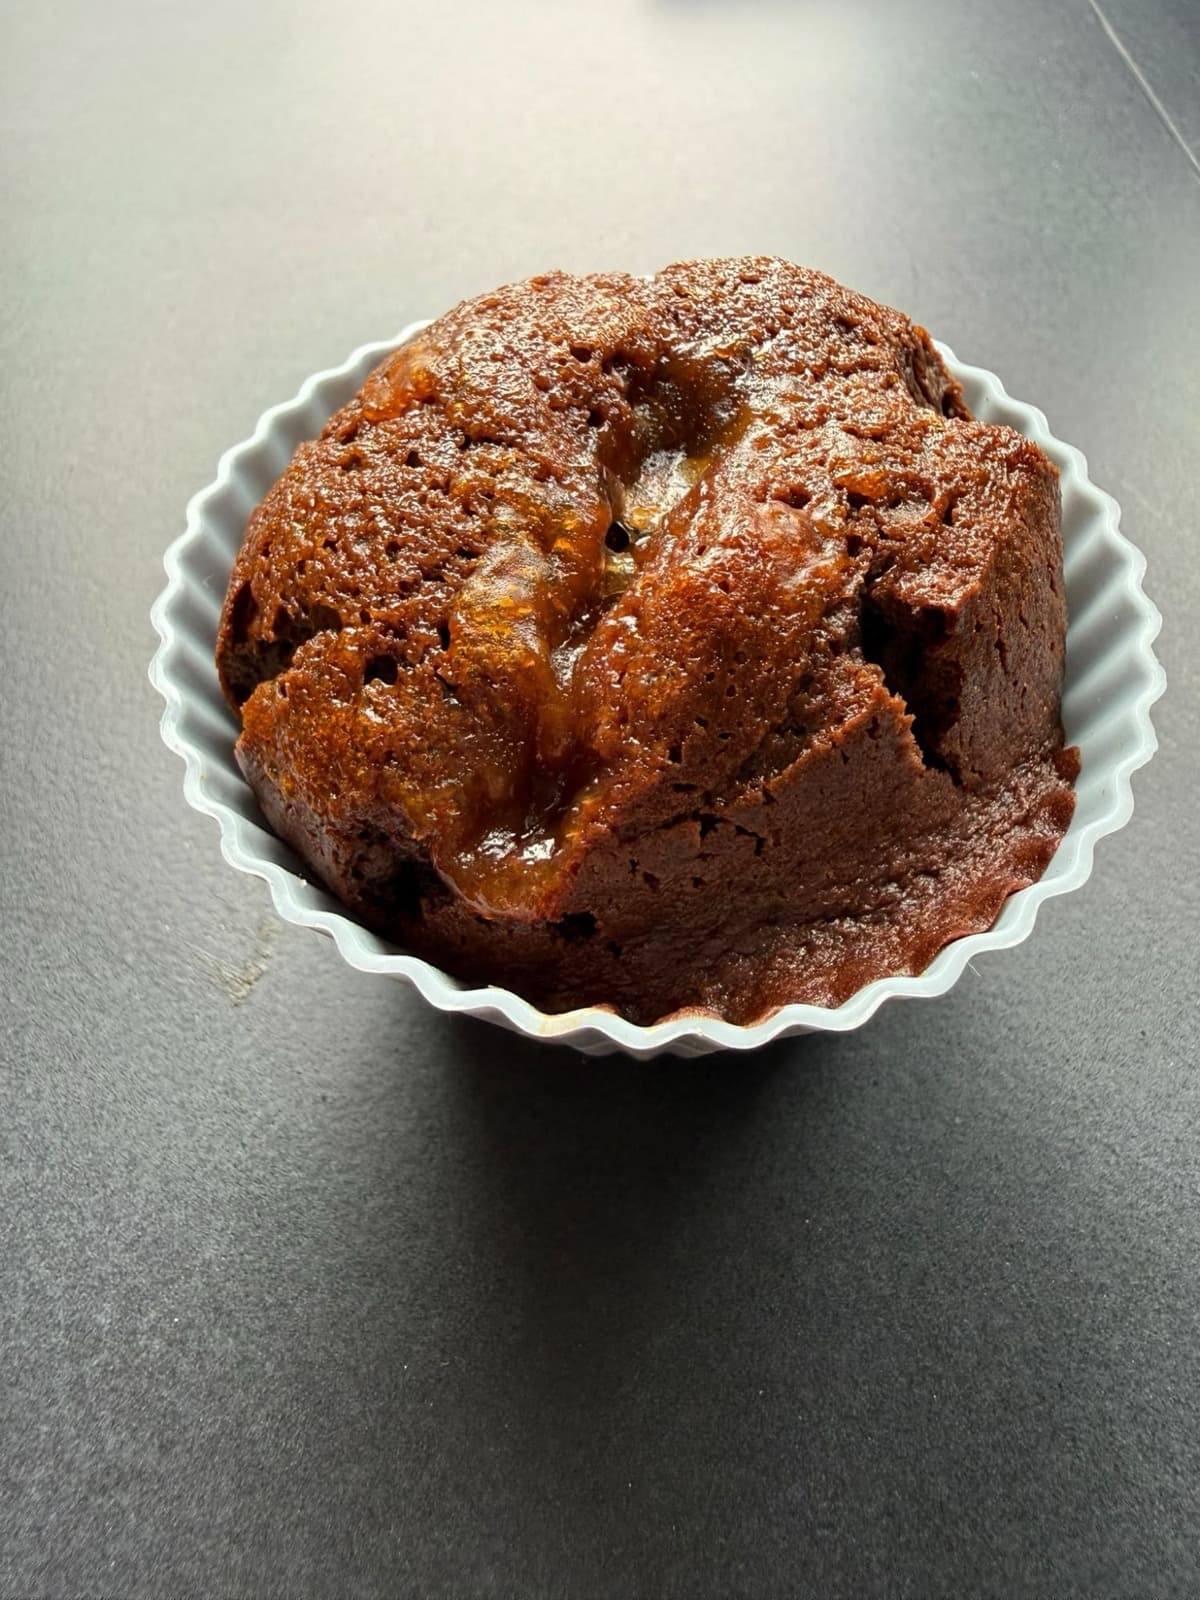
Sacher muffins with the Thermomix, apricot-filled
Soft chocolate muffins with an apricot jam heart, inspired by the Sacher cake: ready in under 40 minutes with the Thermomix.
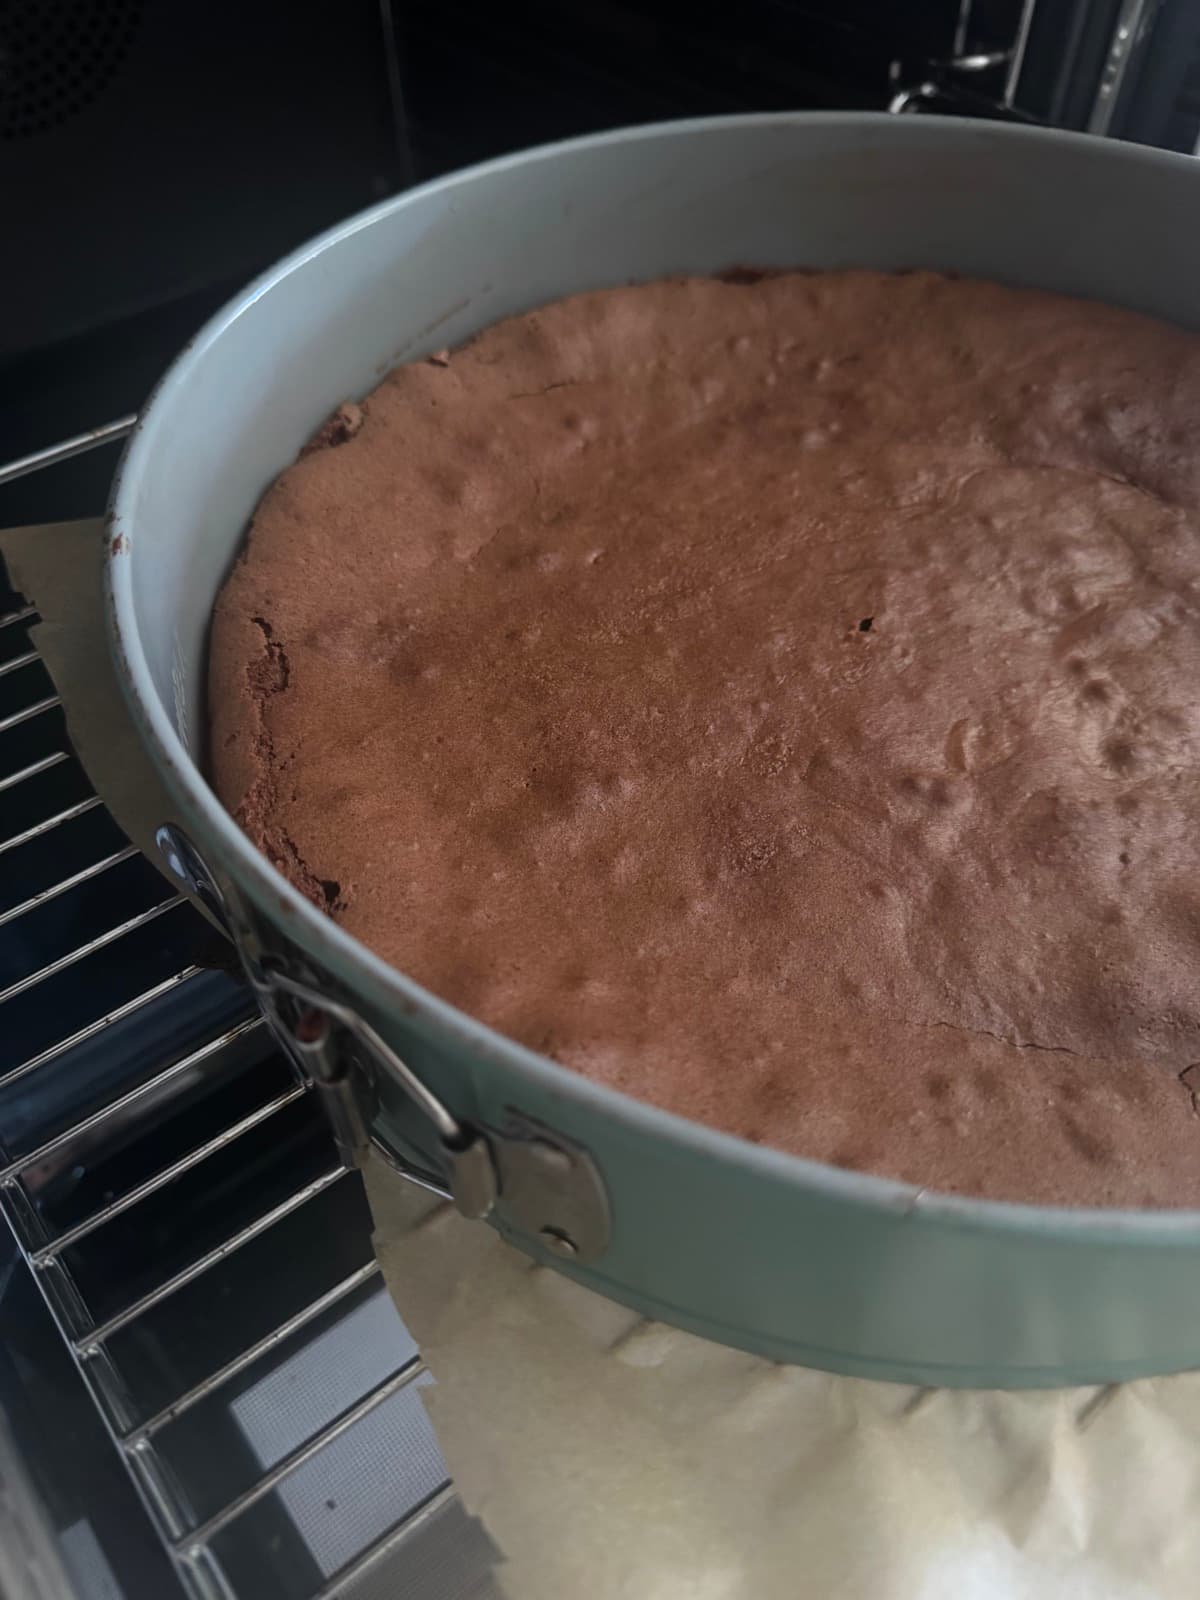
Torta tenerina with the Thermomix, Ferrara's chocolate cake
Torta tenerina: an almost molten soft center and a top that cracks on its own in the oven. The secret is whipping the egg whites separately and a short bake.
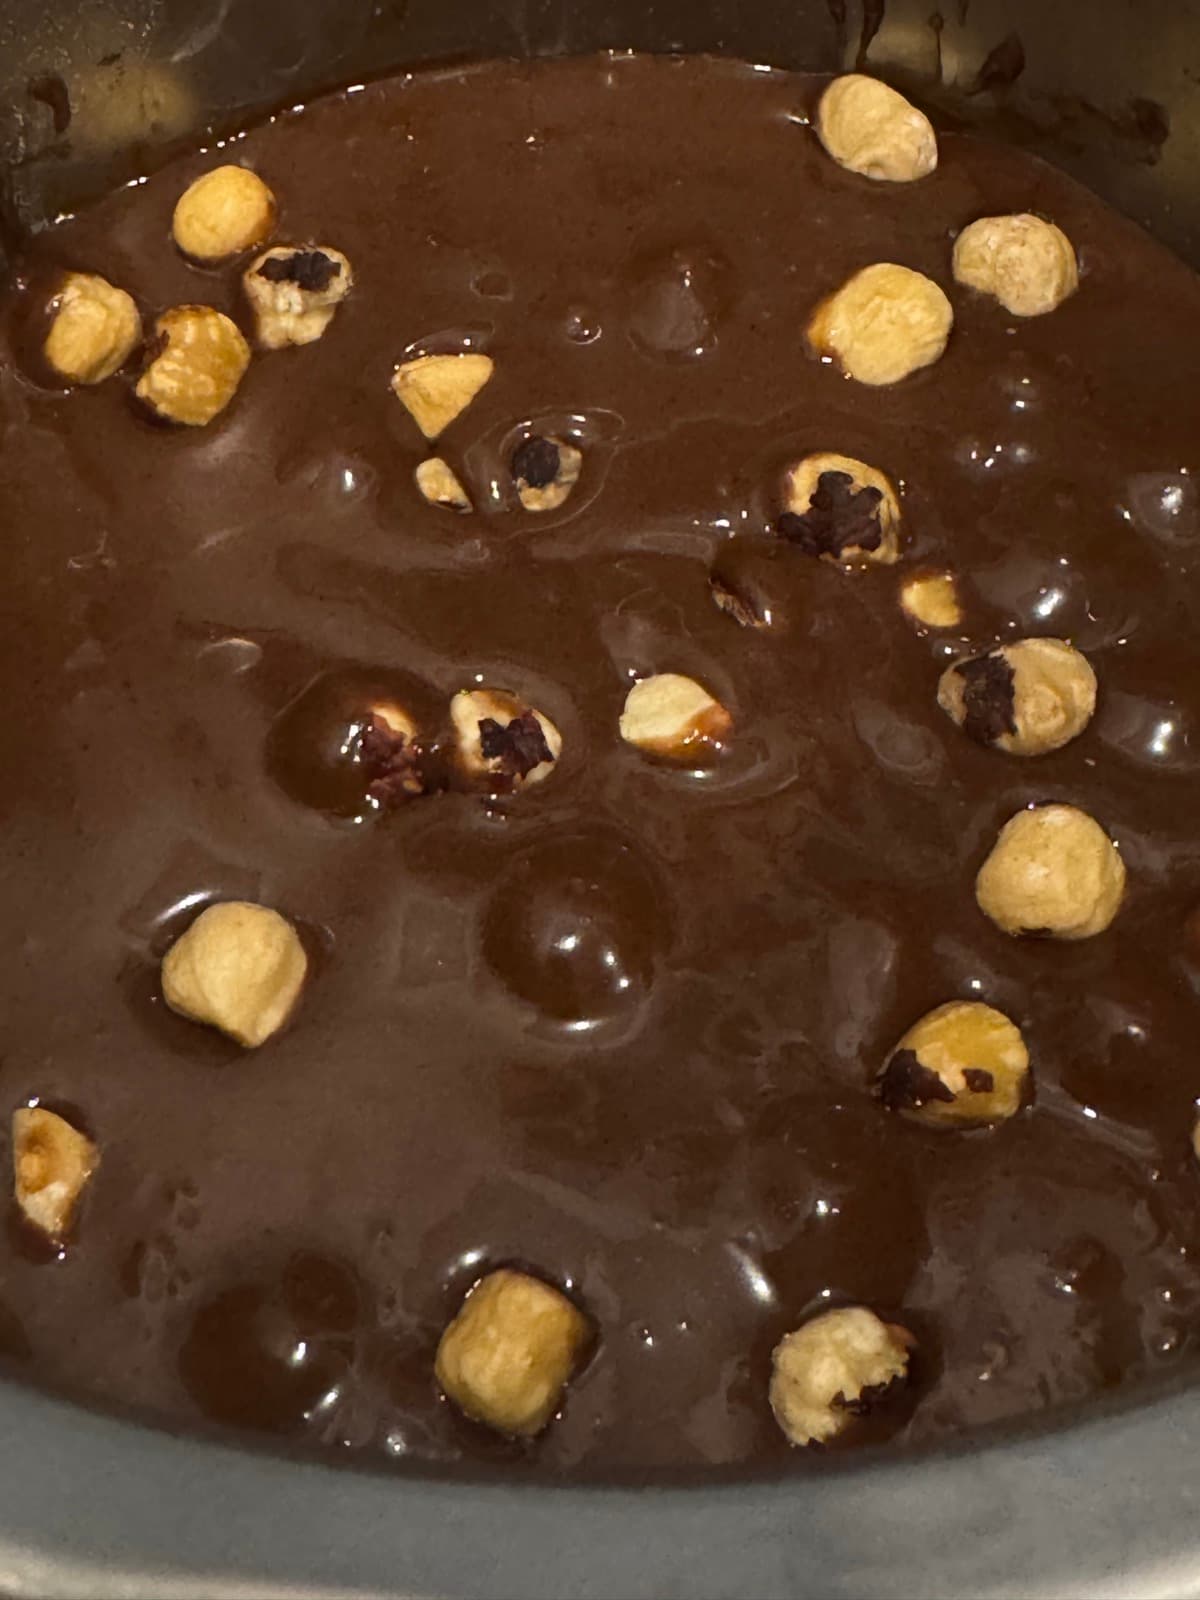
Chocolate hazelnut brownies with the Thermomix
Fudgy brownies with a moist center, a crackly top crust and crunchy whole hazelnuts: the batter comes together in minutes in the Thermomix.
Message me, I reply within the day
Price, recipes, how the demo works: ask me anything on Instagram, no strings attached. If you're in the area and want to try it in person, we can set up a demo whenever suits you.
I run in-person demos in South Tyrol (Alto Adige), Italy. Wherever you are, the recipes on this site are yours to use freely.
Message me on Instagram →