Chocolate hazelnut brownies with the Thermomix
Fudgy brownies with a moist center, a crackly top crust and crunchy whole hazelnuts: the batter comes together in minutes in the Thermomix.
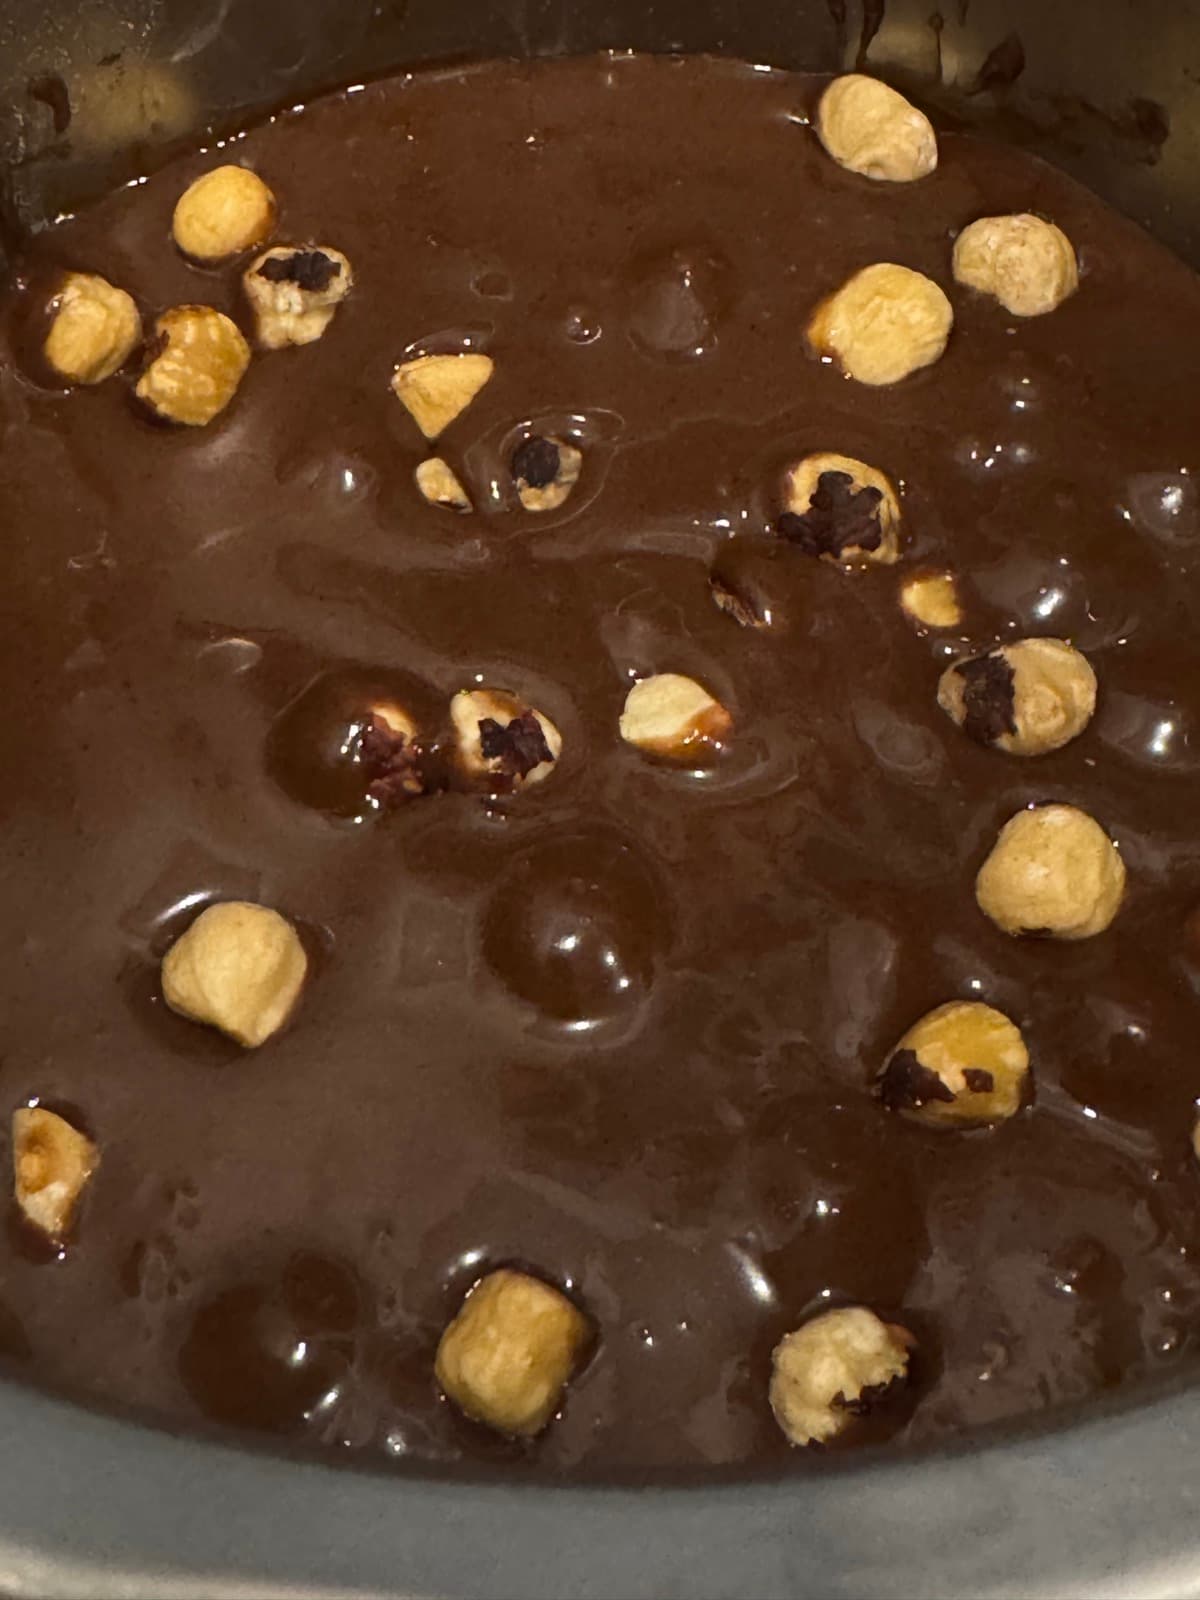
The result you want is exactly this: a moist, dense center, a thin crackly crust on top, and the crunchy contrast of whole hazelnuts left in big pieces on purpose.
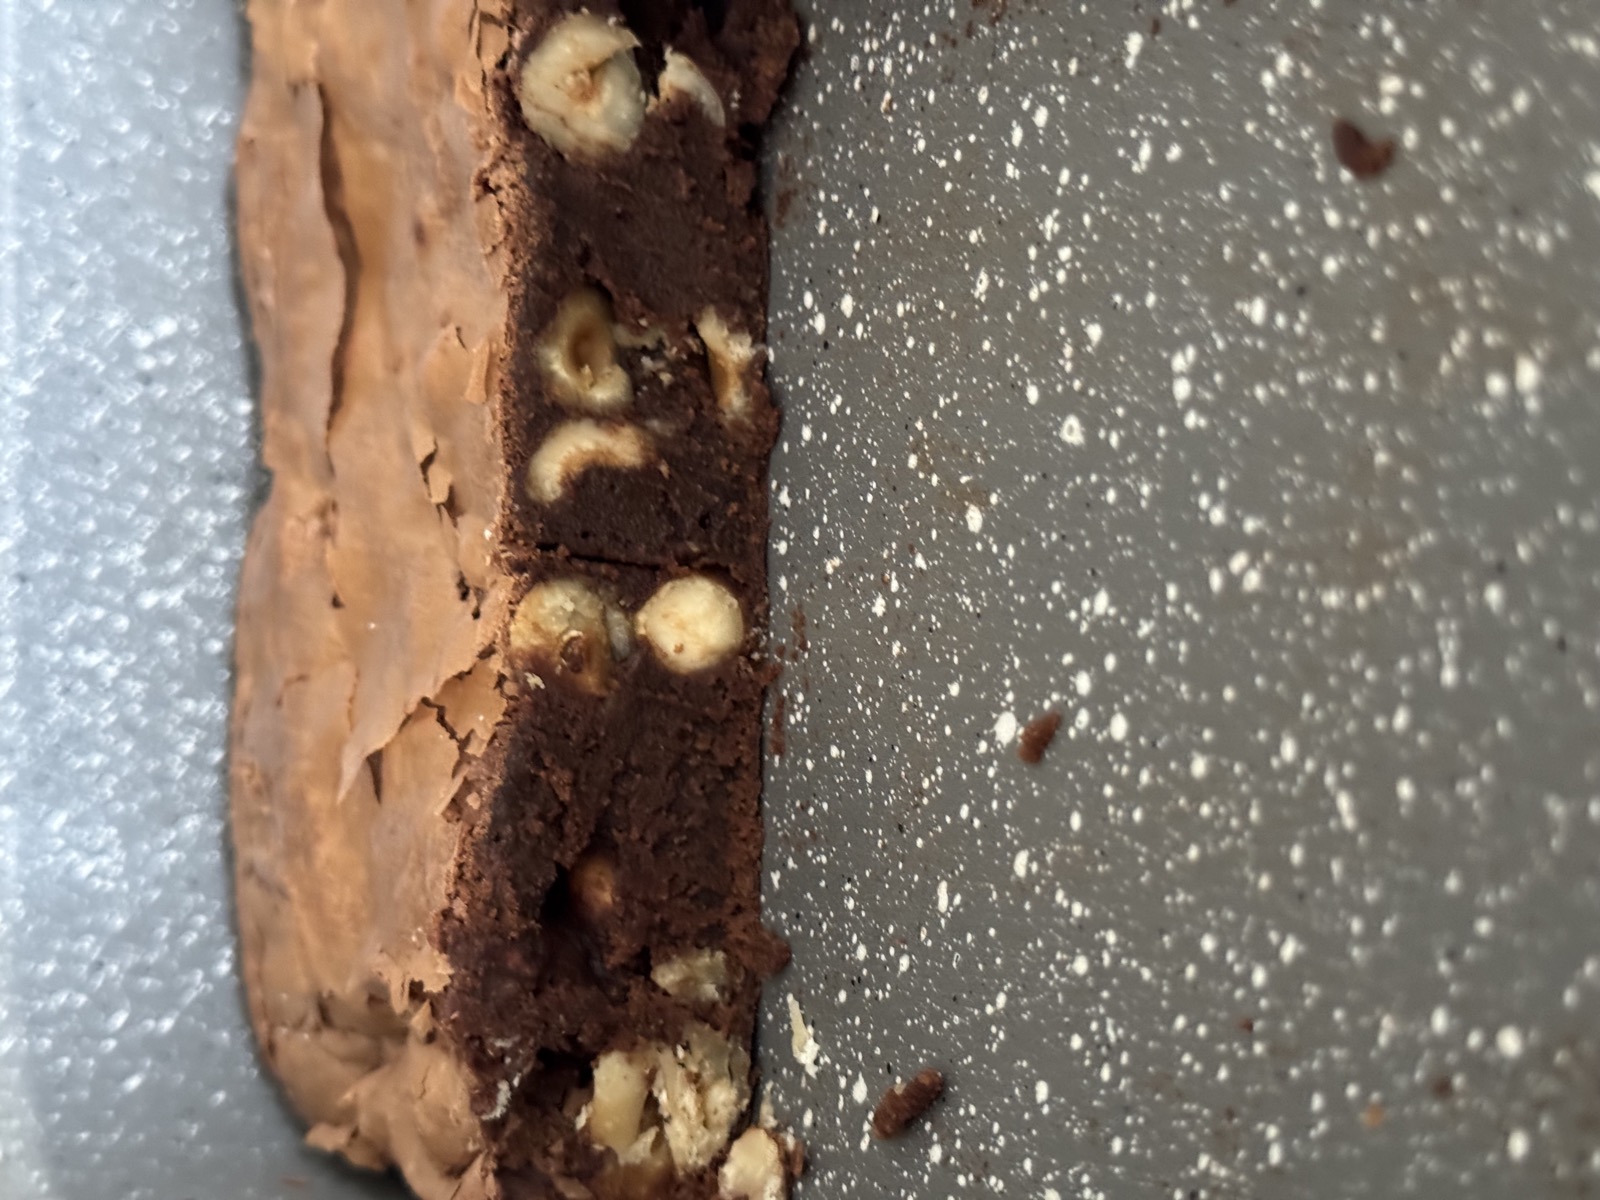
The trick for the crackly top is not whipping the eggs and sugar too much: 45 seconds in the Thermomix is enough, just long enough to combine them without beating in air.
If you want to serve them as a real dessert, a square that's still slightly warm with a scoop of dark chocolate ice cream on top is the combination I make when I have guests.
Fudgy or cakey: it's all about the oven time
Brownies split into two camps, and almost all the difference comes down to baking time, not the ingredients.
- Fudgy (the ones in the photo): a moist, dense center, almost like a chocolate truffle. You get there by pulling them out when the skewer comes out with moist crumbs clinging to it.
- Cakey: drier and more cake-like. That's what you get by leaving them 5-10 minutes longer.
The classic mistake is baking them until they "look done": by then they've already gone too far. A brownie keeps cooking from residual heat even out of the oven, so it should come out when it still looks slightly underdone.
The secret to the crackly crust
That thin, glossy surface that crackles is the signature of a well-made brownie, and it's not random: it forms when the sugar dissolves completely into the eggs and migrates to the surface during baking.
That's why the 45 seconds at speed 4 matter in both directions: enough to dissolve the sugar, not so much that you beat in air. If you overwhip, the brownie puffs up in the oven and then collapses, and the crust never forms.
The other requirement is that the chocolate and butter mixture be just warm, not hot: hot, it would cook the eggs on contact.
Whole hazelnuts, not chopped
It's a deliberate choice: chopped, they'd disappear into the batter giving only a vague flavor; whole, they give the contrast of textures that makes every bite different. For the same reason, fold them in by hand or on reverse at very low speed, since the blades would break them.
If you buy them already toasted and skinned, you save time. Otherwise, 8-10 minutes at 160°C in the oven, then rub them in a kitchen towel to remove the skins: they develop much more flavor, the same trick I use for walnut ice cream.
Why you should wait for it to cool before cutting
Warm, the brownie is still fluid in the middle and the knife drags it: you end up with ragged squares. As it cools, the butter firms up and the structure sets.
For clean, bakery-style cuts: a smooth blade, wiped clean between cuts, and a brownie that's properly cold.
Variations
- Pecans or almonds instead of hazelnuts.
- White chocolate chips: the color contrast when you cut into it looks great.
- Salted caramel: a pinch of flaky salt on top before baking.
- More intense: 70-75% dark chocolate, adding 20 g more sugar.
- Gluten-free: swap the flour for rice or almond flour without changing the method.
Storage
They get better the next day: the center settles and turns even more fudgy. They keep 4-5 days at room temperature in a closed container (never in the fridge, which hardens them), and they freeze very well already cut into squares.
Ingredients
- 200 g dark chocolate (at least 60-70%)
- 150 g butter
- 3 medium eggs, at room temperature
- 180 g sugar
- 80 g plain flour
- 20 g unsweetened cocoa powder
- 120 g whole hazelnuts, skinned and toasted
- 1 pinch of salt
- 1 teaspoon vanilla extract
Method
- 1
Break the dark chocolate into the bowl and chop it
⏱ 8 secvel 8 - 2
Add the butter in pieces and melt it
⏱ 3 minvel 2🌡 60°C - 3
Scrape the mixture off the sides with the spatula and let it cool slightly in the bowl
⏱ 2-3 min - 4
Add the sugar, the eggs, the vanilla extract and the pinch of salt and work them together: this is the secret to the thin crust, no need to whip it for long
⏱ 45 secvel 4 - 5
Add the flour and cocoa and mix
⏱ 20 secvel 4 - 6
Fold in the whole hazelnuts gently by hand with the spatula (or 10 seconds in the Thermomix on reverse, to keep them from breaking)
⏱ 10 secvel 1.5 - 7
Preheat the oven, conventional setting. Line a 20x20 cm square tin with baking paper, pour in the batter and level it out
🌡 175°C - 8
Bake until the top forms a matte, crackly crust. Test the center with a skewer: it shouldn't come out clean like a regular cake, but with a few moist crumbs clinging to it, for the fudgy center
⏱ 22-25 min🌡 175°C - 9
Let it cool completely in the tin before turning it out and cutting into squares: cutting it warm risks it falling apart
Tip
Brownies get better overnight: the center settles and turns even more fudgy. Store at room temperature in a closed container.
You might also like
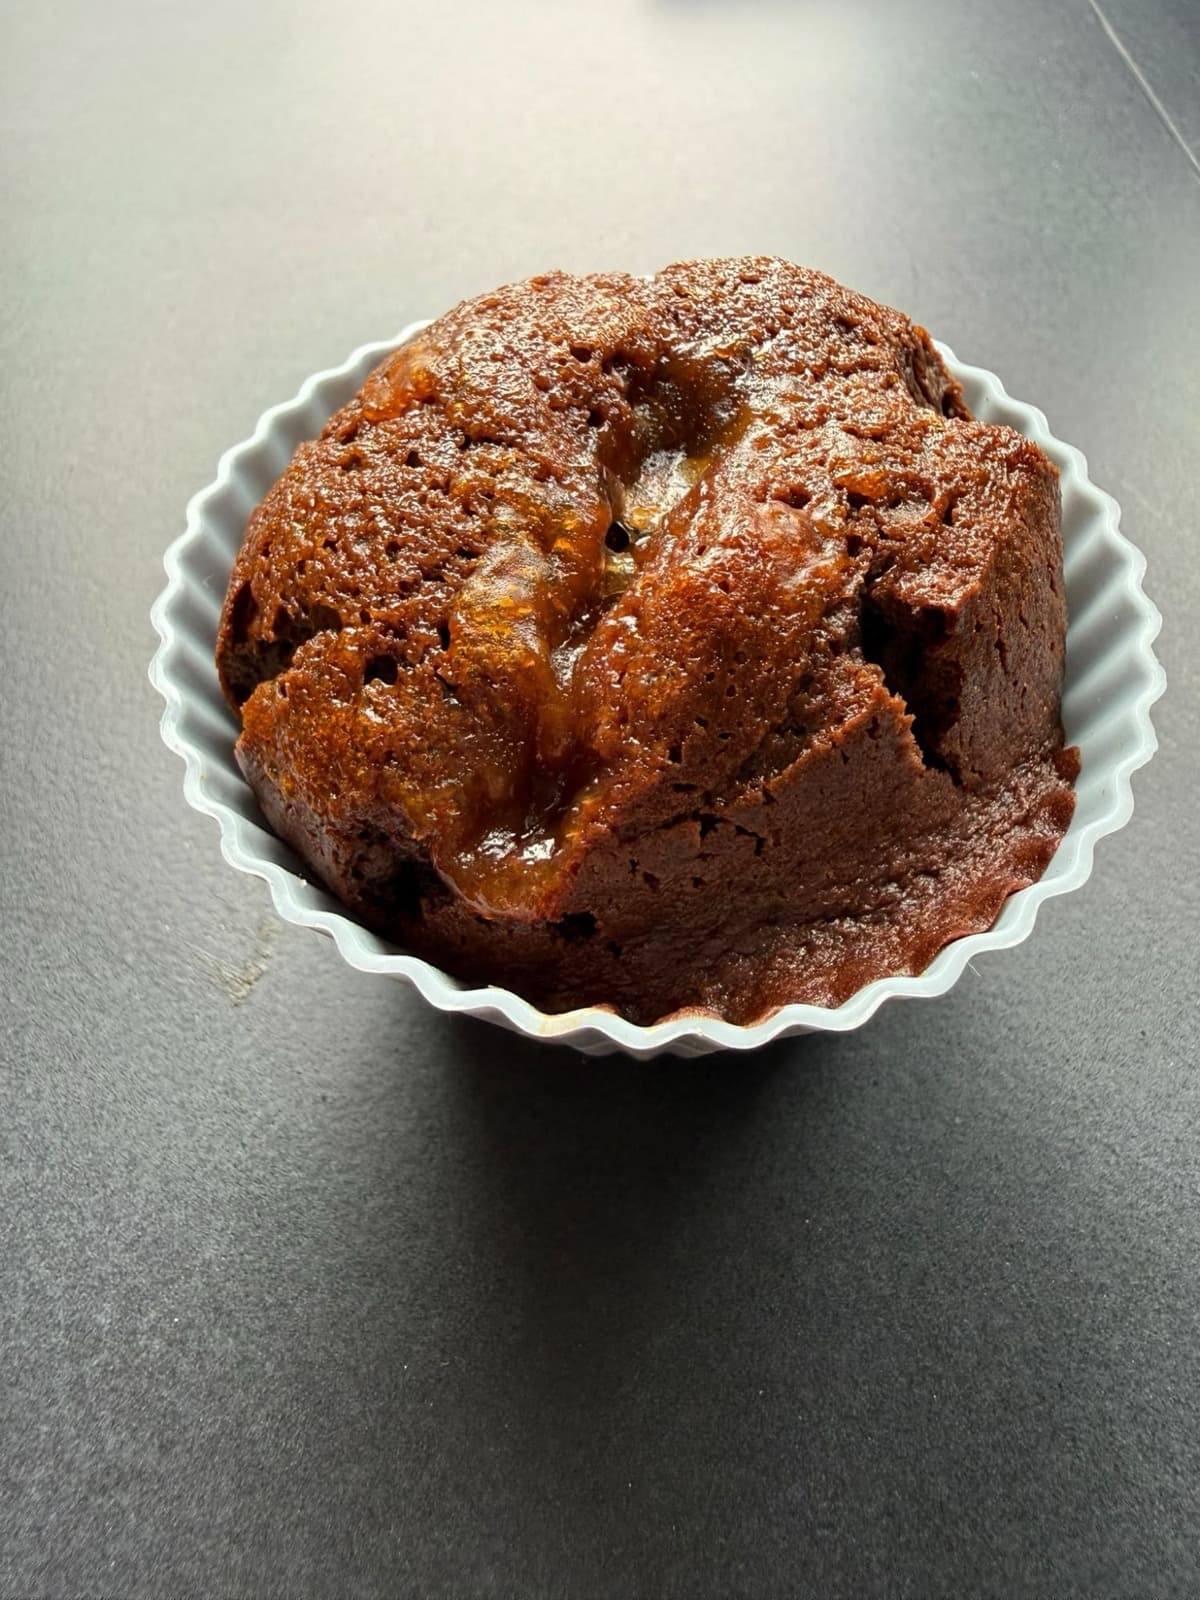
Sacher muffins with the Thermomix, apricot-filled
Soft chocolate muffins with an apricot jam heart, inspired by the Sacher cake: ready in under 40 minutes with the Thermomix.
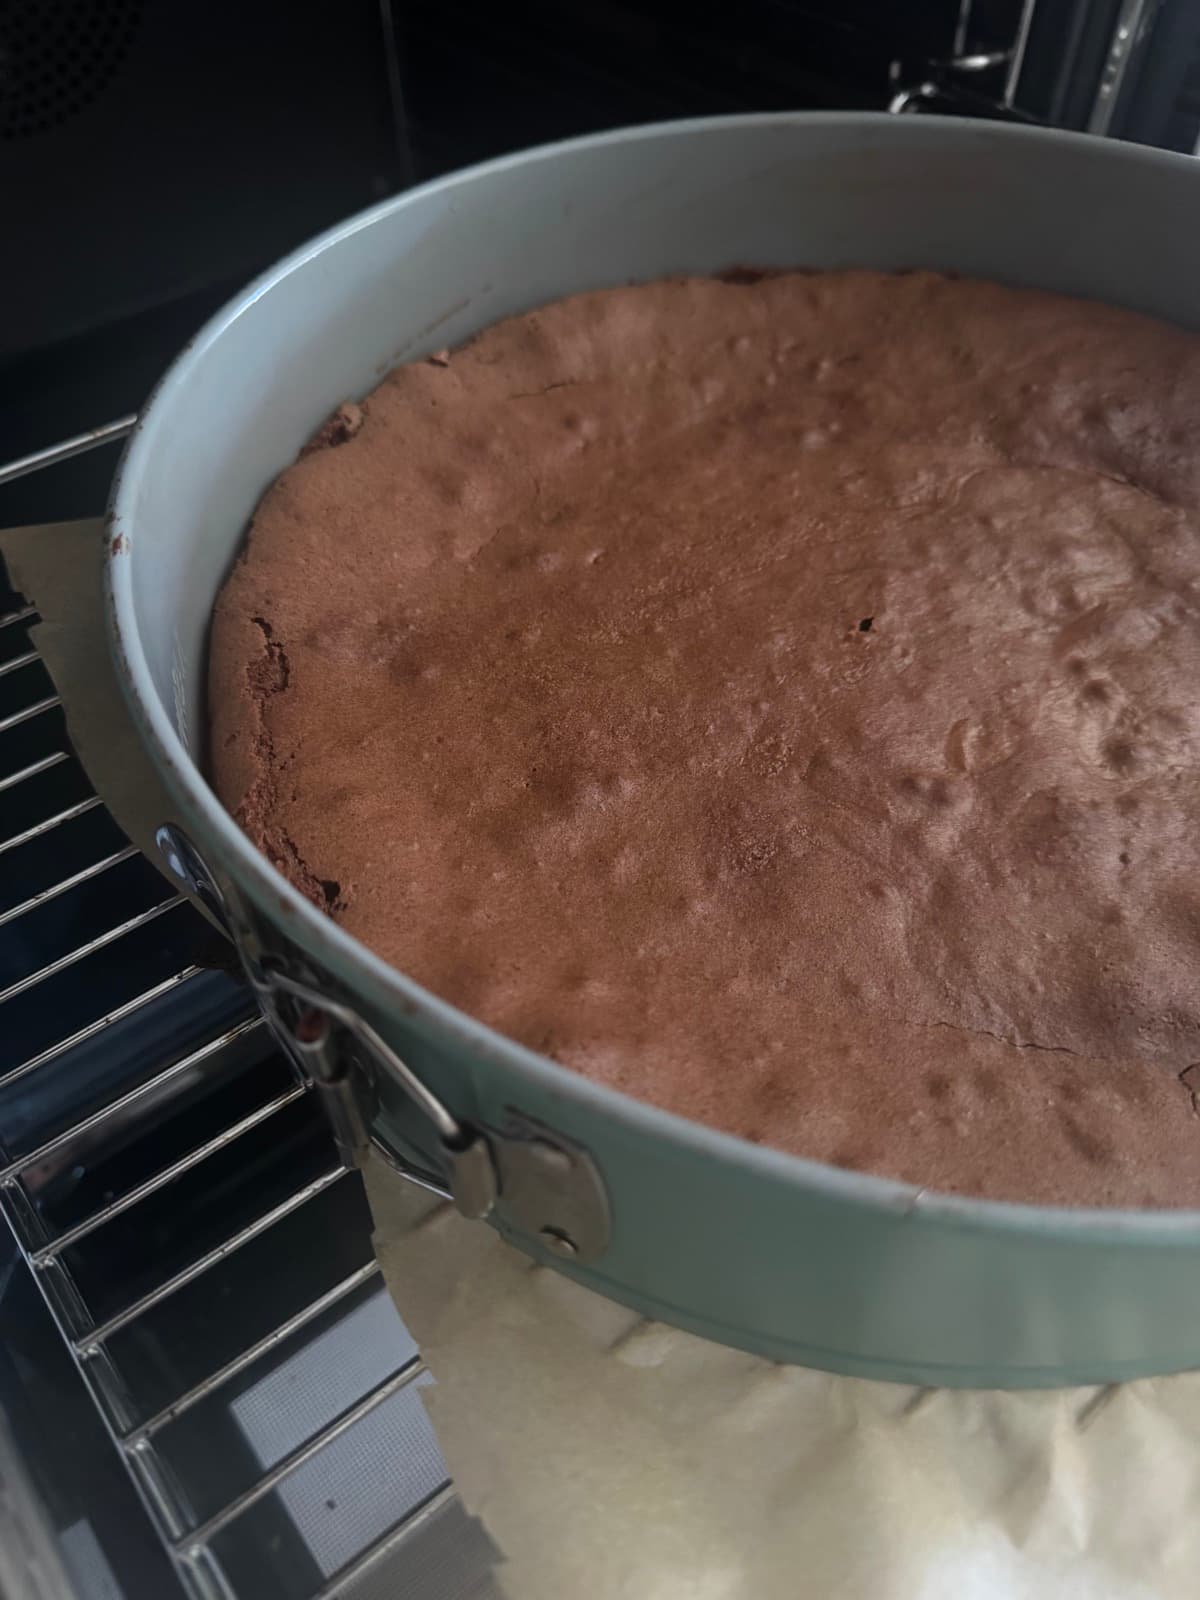
Torta tenerina with the Thermomix, Ferrara's chocolate cake
Torta tenerina: an almost molten soft center and a top that cracks on its own in the oven. The secret is whipping the egg whites separately and a short bake.
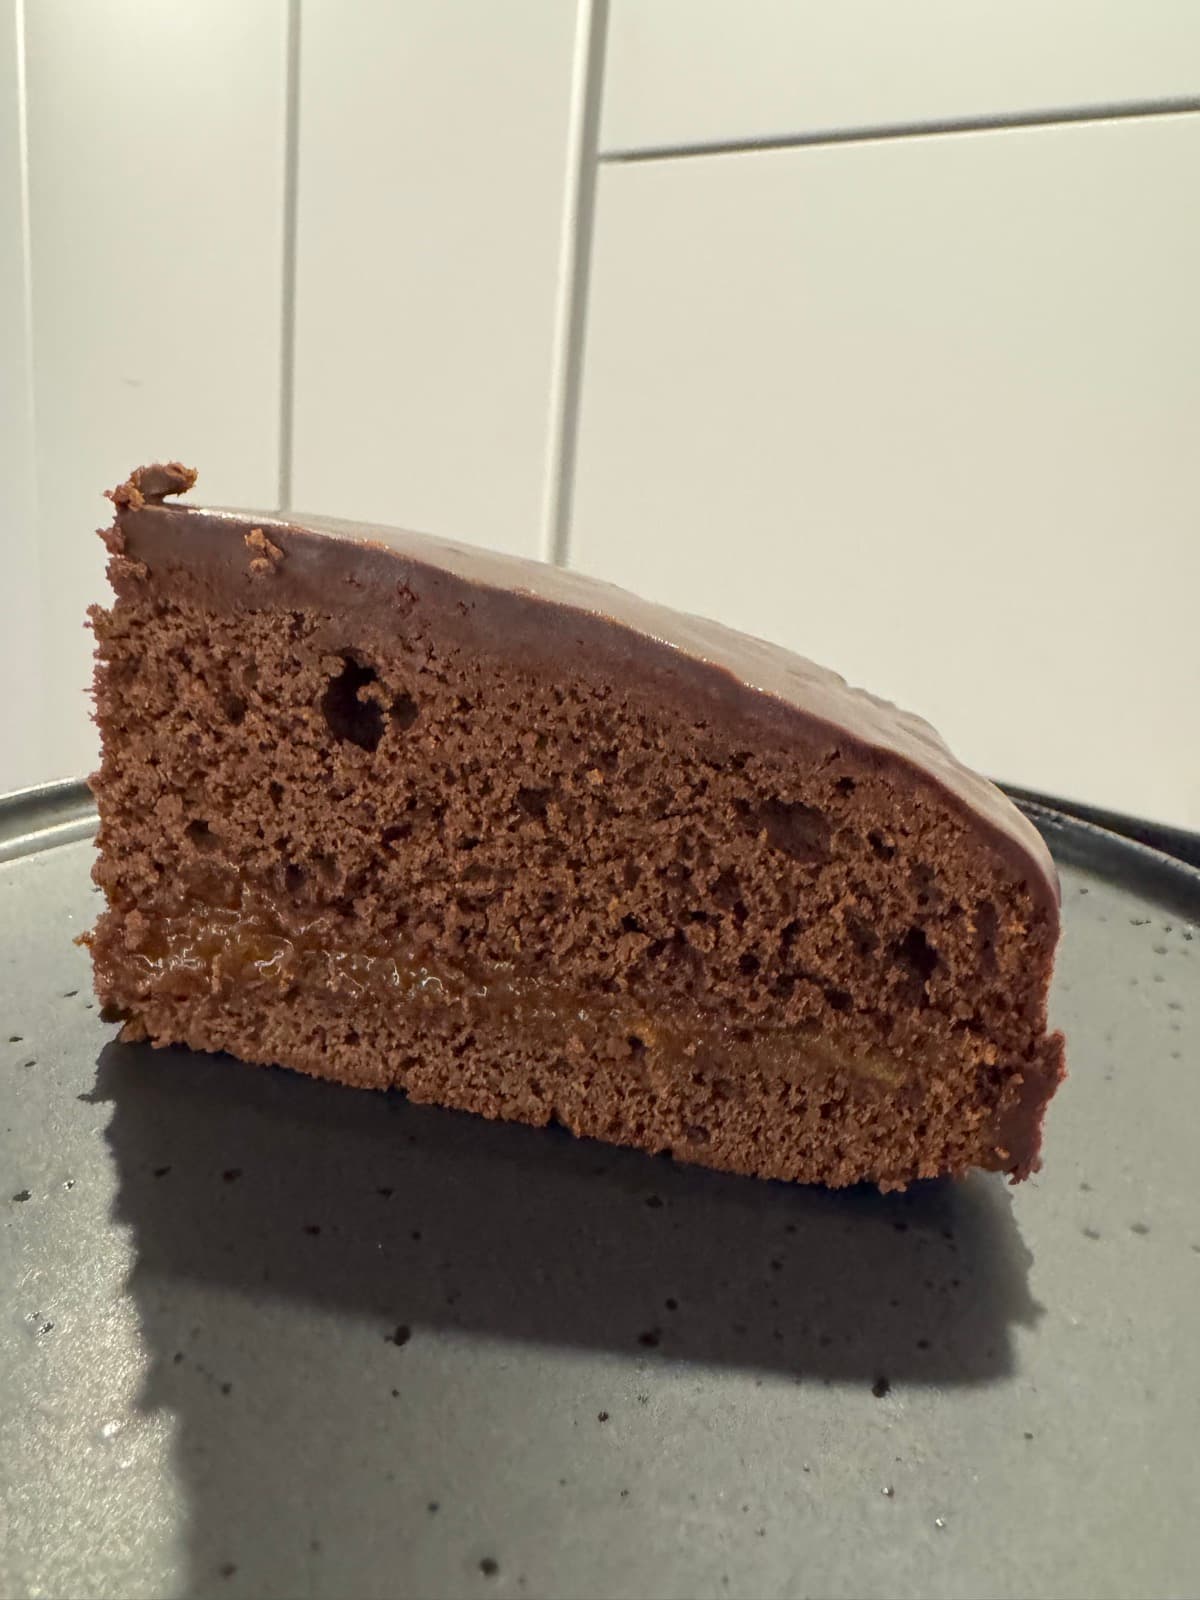
Sacher torte with the Thermomix, moist with a glossy chocolate glaze
Homemade Austrian Sacher torte: chocolate sponge, an apricot jam center and a glossy glaze, all made with the Thermomix.
Message me, I reply within the day
Price, recipes, how the demo works: ask me anything on Instagram, no strings attached. If you're in the area and want to try it in person, we can set up a demo whenever suits you.
I run in-person demos in South Tyrol (Alto Adige), Italy. Wherever you are, the recipes on this site are yours to use freely.
Message me on Instagram →