Piadina without lard with the Thermomix, thin and light
Homemade piadina without lard: the dough is ready in 2 minutes in the Thermomix, rolls out thin, and cooks in a dry pan with nothing added.
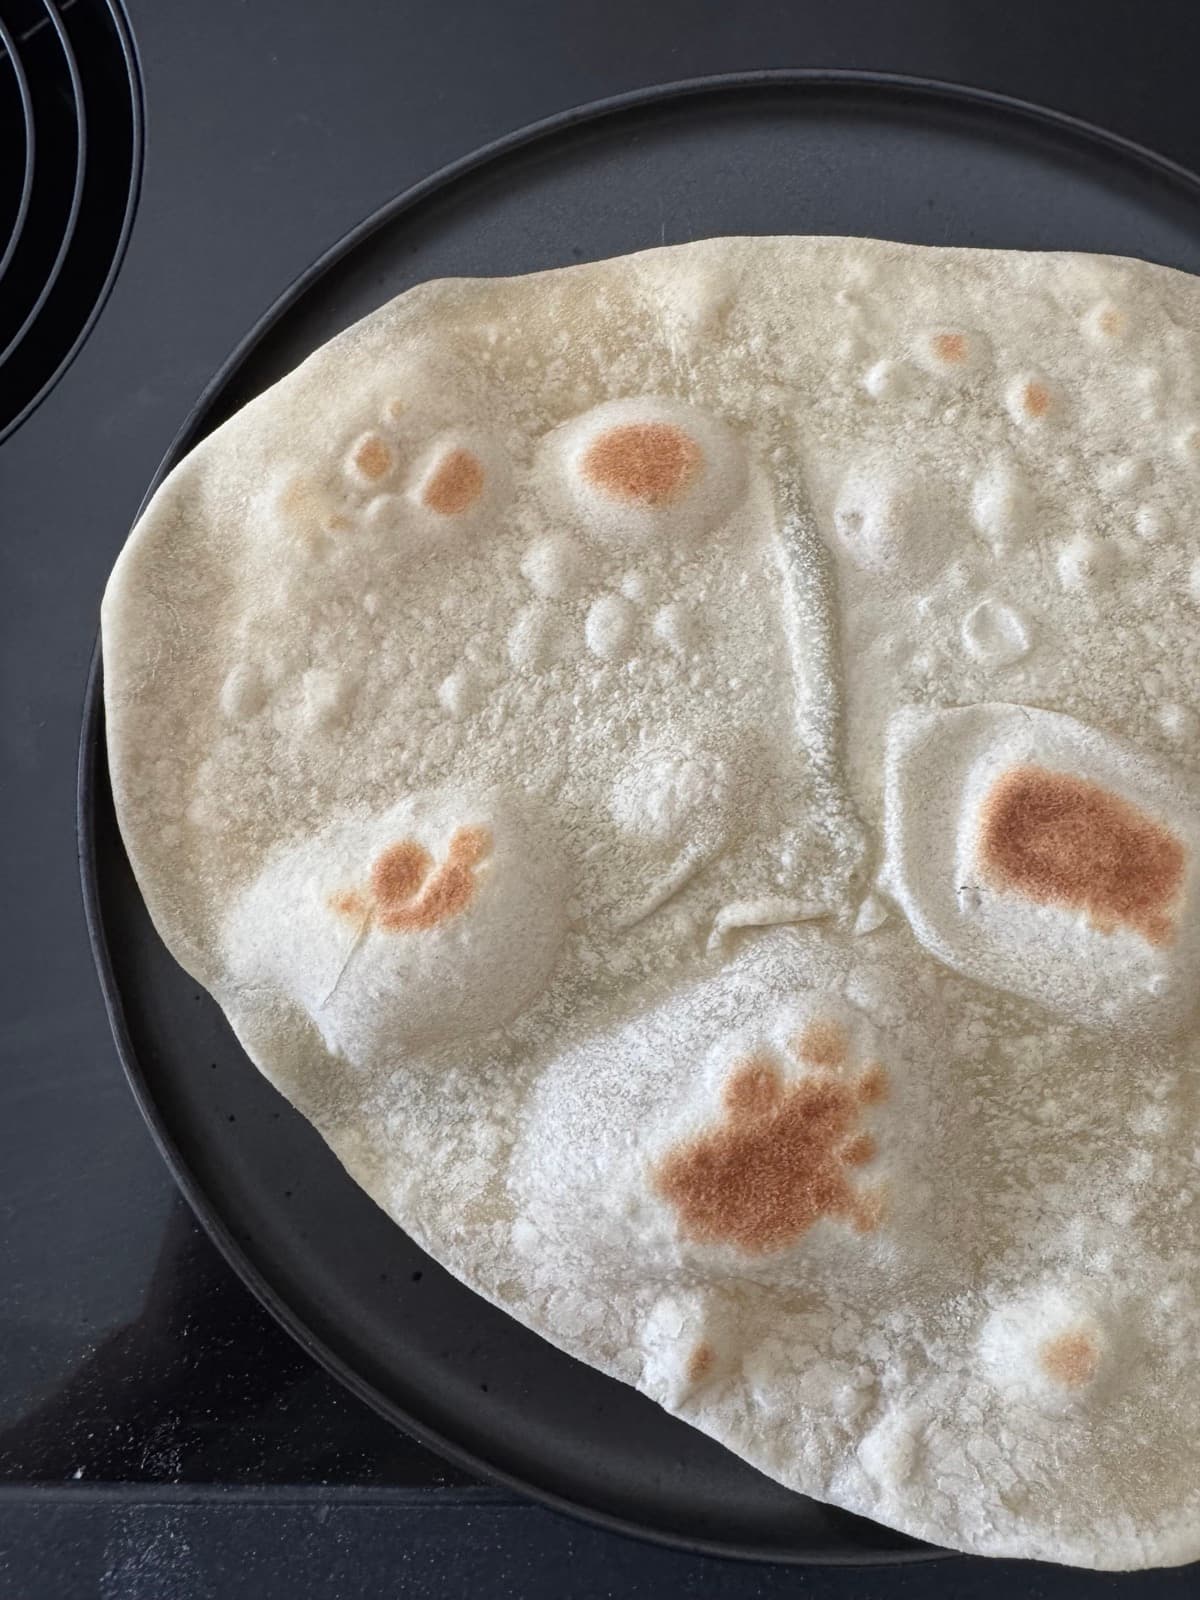
Riccardo's piadina, made without lard: the dough comes together in the bowl in two minutes, rests while the pan heats up, and cooks with no oil or other fat added at all. The result is a thin piadina with those classic golden, bubbly patches, best filled warm, straight off the heat.
Why no lard, and what changes
Traditional Romagna-style piadina uses lard, which makes the dough more crumbly and flavorful. This version replaces it with a smaller amount of extra virgin olive oil: the result is a piadina that's slightly more elastic and less rich, but still soft and good, and easier to always have on hand since it doesn't call for an ingredient you'd need to buy specially.
If you ever want to try the classic version, just swap the oil for 50 g of lard: the Thermomix method stays exactly the same.
Dough mode: why it's the right choice
Dough mode is the Thermomix's kneading function, designed to work the dough with a motion that mimics hand-kneading, without heating it up through friction the way a regular speed would. Two minutes is enough for a simple dough like this one, with few ingredients and no rising to wait for.
If after the two minutes the dough is still sticking to the sides of the bowl, an extra tablespoon of flour and another 20-30 seconds almost always fixes it.
Why the rest isn't optional
The gluten that forms while kneading is still "tight": if you roll it out right away, the dough springs back the moment you let go and you can't get it thin. Twenty to thirty minutes of rest, covered with a kitchen towel so the surface doesn't dry out, is enough to relax it: after that, the dough rolls out almost on its own.
Cooking without fat: the trick is a well-heated pan
You don't need oil or butter in the pan: the piadina cooks through direct contact with the hot surface, exactly like a griddle. The one thing that really matters is that the pan is properly hot before the first round goes in: if it's still lukewarm, the piadina dries out without forming those golden bubbly patches it should have.
Only flip it once you see the first bubbles and the first dark patches: flipping too early leaves it pale and chewy.
How to fill it
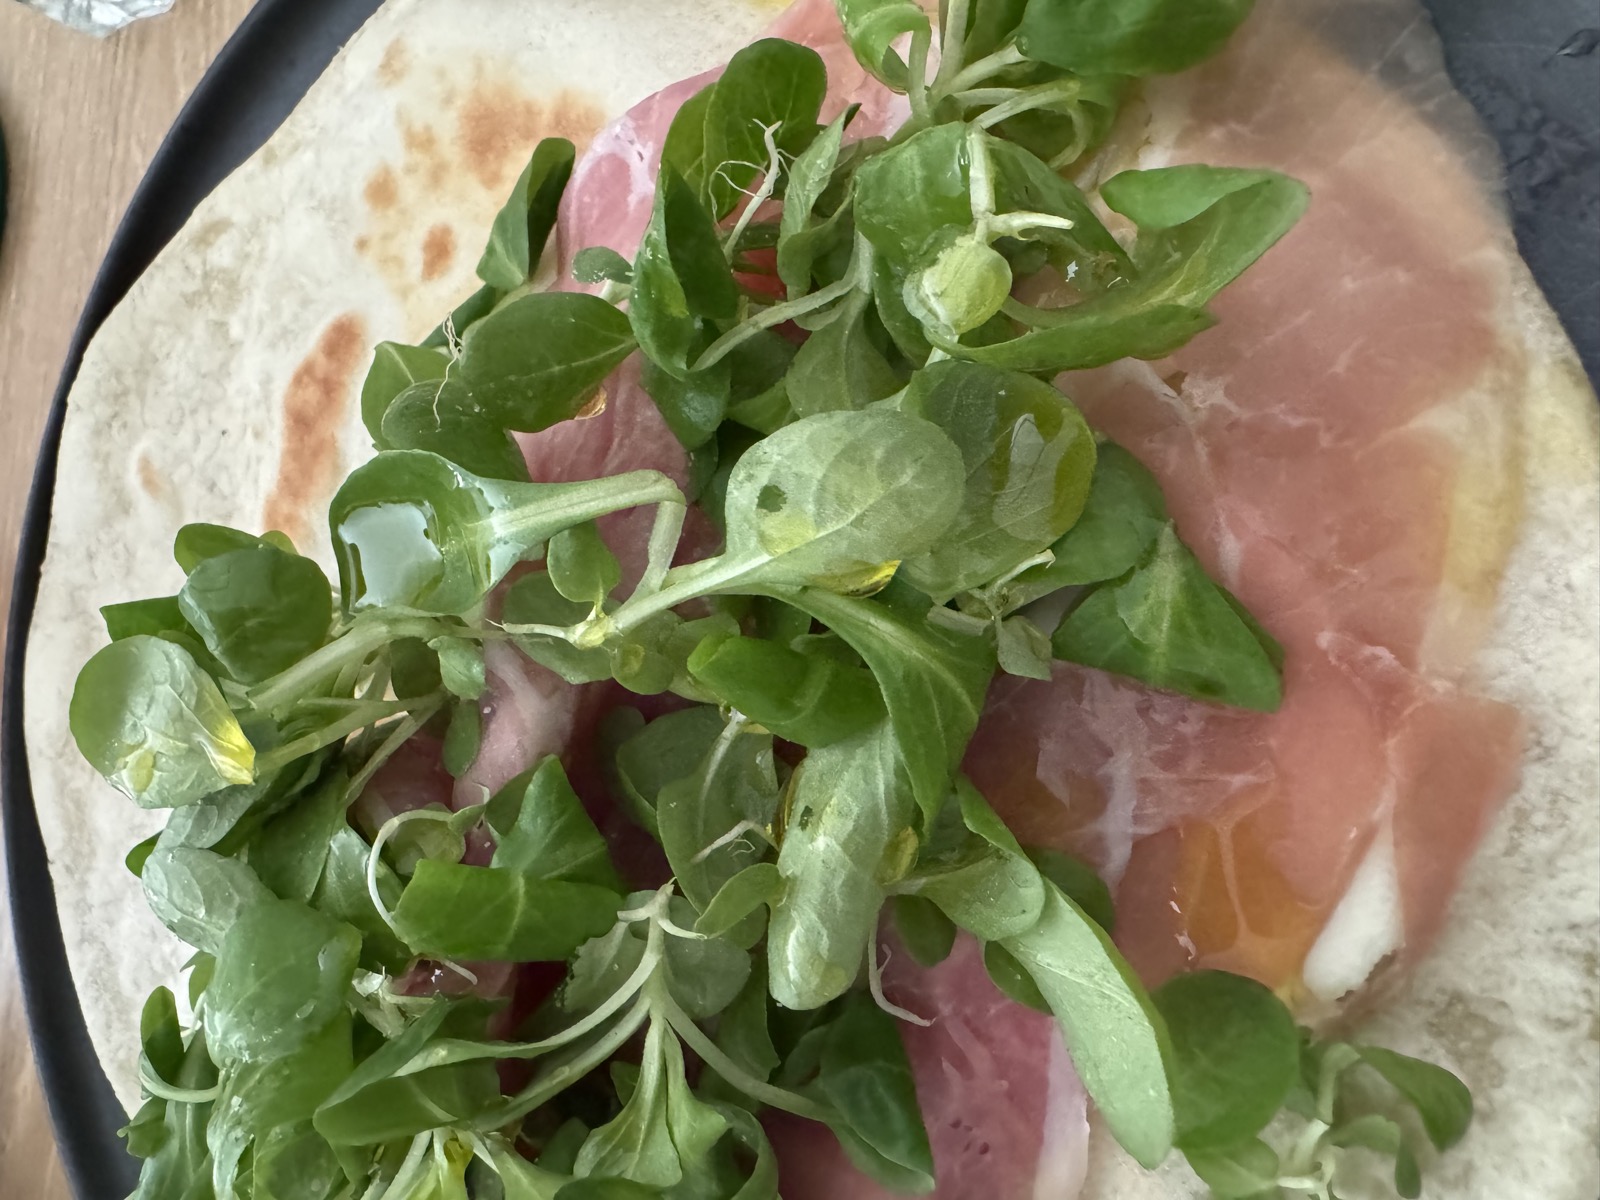
Warm, fill it with whatever you have: prosciutto, lamb's lettuce or arugula and a drizzle of oil is the simplest combination and one of the ones I make most often. It works just as well with squacquerone cheese and arugula, the classic Romagna filling, or with different cold cuts and cheeses depending on what's in the fridge.
How to store it
Best eaten warm, right after making it. Any leftovers keep for 2-3 days at room temperature in a food storage bag, or you can freeze them already cooked, stacked with a sheet of baking paper between each one: to serve, just warm them a few seconds per side in a pan, straight from frozen.
Ingredients
- 300 g plain flour
- 150 g water
- 30 g extra virgin olive oil
- 5 g fine salt
Method
- 1
Pour the water and oil into the bowl
- 2
Add the salt and the flour
- 3
Knead, dough mode. If the dough is too sticky, add a tablespoon of flour and repeat for 20-30 seconds
⏱ 2 minvel dough mode - 4
Take the dough out of the bowl, shape it into a smooth ball and let it rest, covered with a kitchen towel, at room temperature
⏱ 20-30 min - 5
Using a dough scraper, divide the dough into 4-6 pieces, depending on the size of your pan, and work each piece into a smooth ball
- 6
With a rolling pin, roll out each ball into a thin, as even as possible round
- 7
Heat a non-stick pan (or a piadina griddle) well, with nothing added
- 8
Cook the first piadina over medium heat, uncovered, until bubbles form on the surface and the bottom turns golden in patches
- 9
Flip and cook the other side until golden too. Stack the cooked piadine on top of each other as you go
Tip
Never heat the pan to its maximum: dark spots are a good sign, but if the heat is too high the piadina burns on the outside while staying raw inside. Medium heat and a little patience give you the result in the photo.
You might also like
Homemade cooking cream with the Thermomix in 2 minutes
Homemade cooking cream in under two minutes: just oil and milk emulsified in the Thermomix, ready to finish pasta dishes and sauces.
Homemade breadcrumbs with the Thermomix
How to use up leftover bread and make your own breadcrumbs at home: dried in the air fryer, ground in the Thermomix. Zero waste, zero store trips.
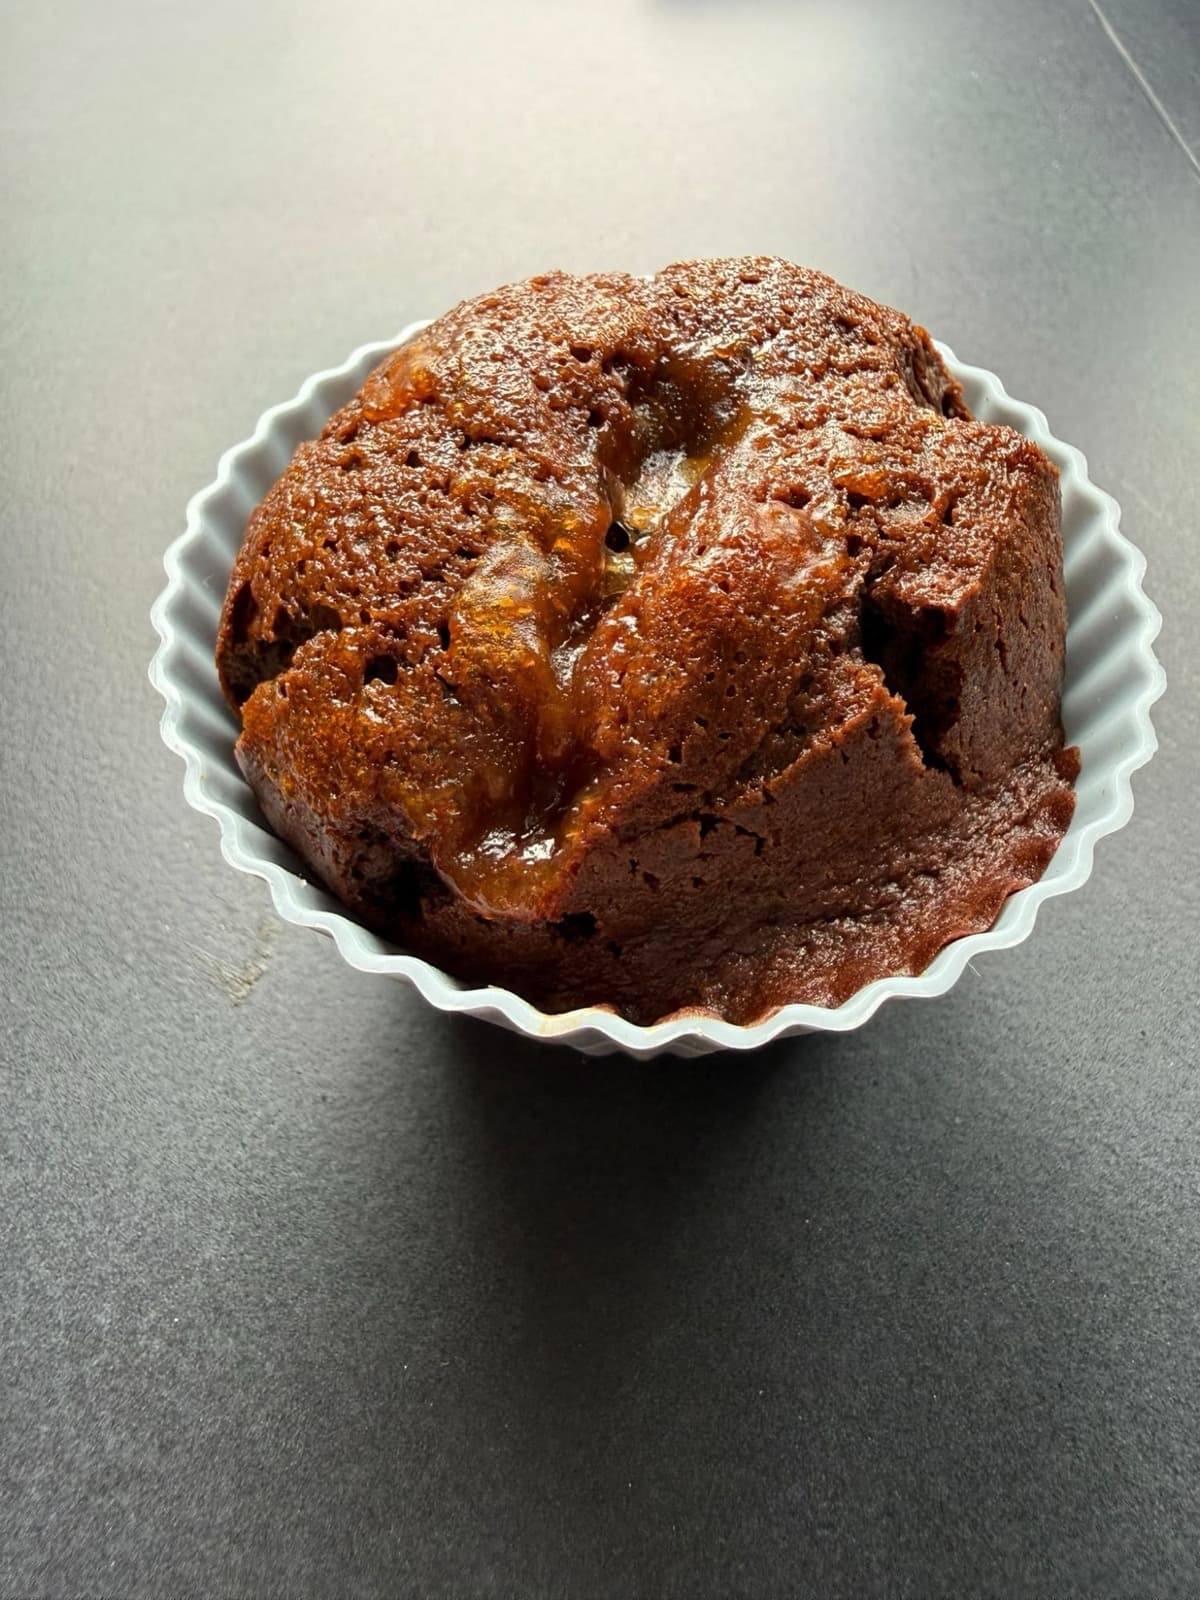
Sacher muffins with the Thermomix, apricot-filled
Soft chocolate muffins with an apricot jam heart, inspired by the Sacher cake: ready in under 40 minutes with the Thermomix.
Message me, I reply within the day
Price, recipes, how the demo works: ask me anything on Instagram, no strings attached. If you're in the area and want to try it in person, we can set up a demo whenever suits you.
I run in-person demos in South Tyrol (Alto Adige), Italy. Wherever you are, the recipes on this site are yours to use freely.
Message me on Instagram →